 |
| |
Tutorial - Making a map for Rogue Spear - Part 4
3d Studio Max (cont)
Texturing
Ok, go to Object View and click on _02. Ungroup the room. You should now have this in your Object View window
Ok, select all the Floor polygons from the Object View (they should have an F at the end, I forgot to put an F in the hallway floorface by mistake, so I added that in), Or select them by hand in 3d view.
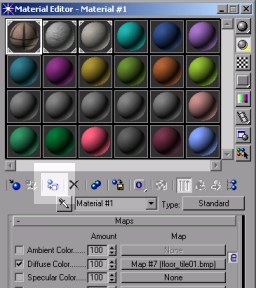
Click on Tools Menu -> Material Editor. Click on the first sphere. It should already be textured. Then Click on the Apply Material to Selection icon (blue sphere with an arrow pointing at a white box)
You should notice that the color of the floor polygons in 3d mode should change.
Next Click on UVW map from Modify Tab. Choose Box radio button. Now the texture should be really stretched. Tile it by adjusting U and V tile.

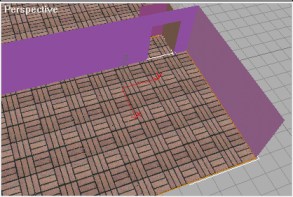
Here is what my floor looks like after this:
Ok, lets now do all the walls. In Object View, select all the walls (everything in room 02 not ending with a C or F, notice the ceiling of the hallway will be given a wall texture)
And go to Material editor and apply the third texture (third sphere) to the walls. Now because the Room is not square, you will have to select the opposite walls (opposite walls of a rectangle are equal) and do a UVW map. First Select these walls.
Now Click UVW map, box, and tile it so it looks correctly. (I usually zoom in 3d mode and look at the pixels of the texture so they are square)
example:
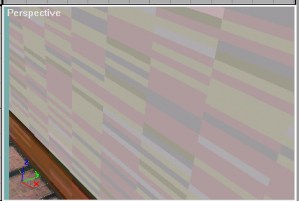
Too stretched and will look very ugly
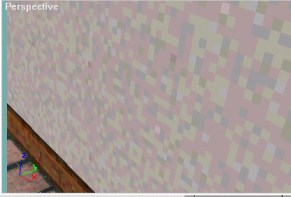
After some tiling, the pixels of the texture are 'little squares'.
Now use UVW map to tile all of the walls, so they look right. After that, apply the 2nd texture to the ceiling of room 02 and tile it. Remember that I used the wall texture for the ceiling of the hallway. So after you apply the third texture to the hallway ceiling, press UVW map. In UVW map,instead of tiling it, stretch it by making the length/width larger.
Ok, the room is nearly all textured. So what is missing? Crates is the answer! Crates are a mapper's best friend. They are usually 5 sided (no bottom) and require only 1 texture.
Adding a Crate
Use the box tool to make a small box in the middle of room 02. Make it 100x100x100 and make sure it is on the floor. (look in the side/front view to make sure it is on the ground)
Now, name the box 'crate01_01' and explode it. Remember explode? Edit Mesh, Explode, name it 'crate01_' and press Ok. So, now you should have 6 polygons of the box. Delete the bottom one because it will not be needed.
To make the players be able to climb and walk on top of the box, we will have to tag the top as a floor. Select the top polygon of the box and tag it as 'floorface'. Remember? Edit -> Properties ->User Defined Tab, type floorface, Press Ok.
Now we will have to texture it. Select all the polygons of the crate and open material editor. There is no crate texture so click on the 4th sphere. Check diffuse and Press None.
A new window should show up and choose Bitmap. Now go to mod_name\map\map_name\ and find the texture: 'woodcrate02.bmp' Press Open. Now press the 'checkered blue box' button and then the apply material button.
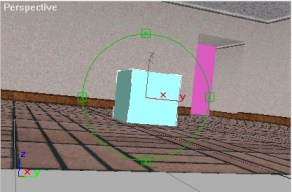
Then, UVW map, and choose box. Here is what the crate looks like:
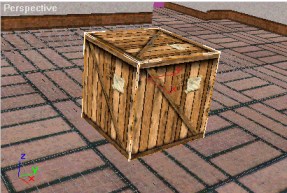
I usually group the crate right now with a name like 'Crate01'.
Grouping Rooms
Select everything from the hallway, room 02 and the crate. (So you leave out room 01 and p02_01, and the hidden objects scene center and shermanlevel01)
Group them as '_02'. So now you should have _01, _02 and p02_01
Part 5 >>>
|
|
|
|
|
|